Magento 2’s Plugin system, also known as interceptors, provides a powerful mechanism to modify or extend the functionality of core or de terceros classes without altering their original code. Este método adheres to Magento’s best practice of ensuring the platform remains actualización-safe, allowing developers to enhance functionality while maintaining compatibility with future updates.
What Are Plugins in Magento 2?
A Plugin is a class that modifies the behavior of another class's method. Unlike observers, which respond to disparcheed events, plugins allow you to intercept and manipulate specific method calls directly.
Key Benefits of Plugins:
- Non-intrusive customizations: Core code remains untouched.
- Granular control: Specific methods puede ser targeted without affecting the entire class.
- Upgrade safety: Customizations persist even after upgrading Magento.
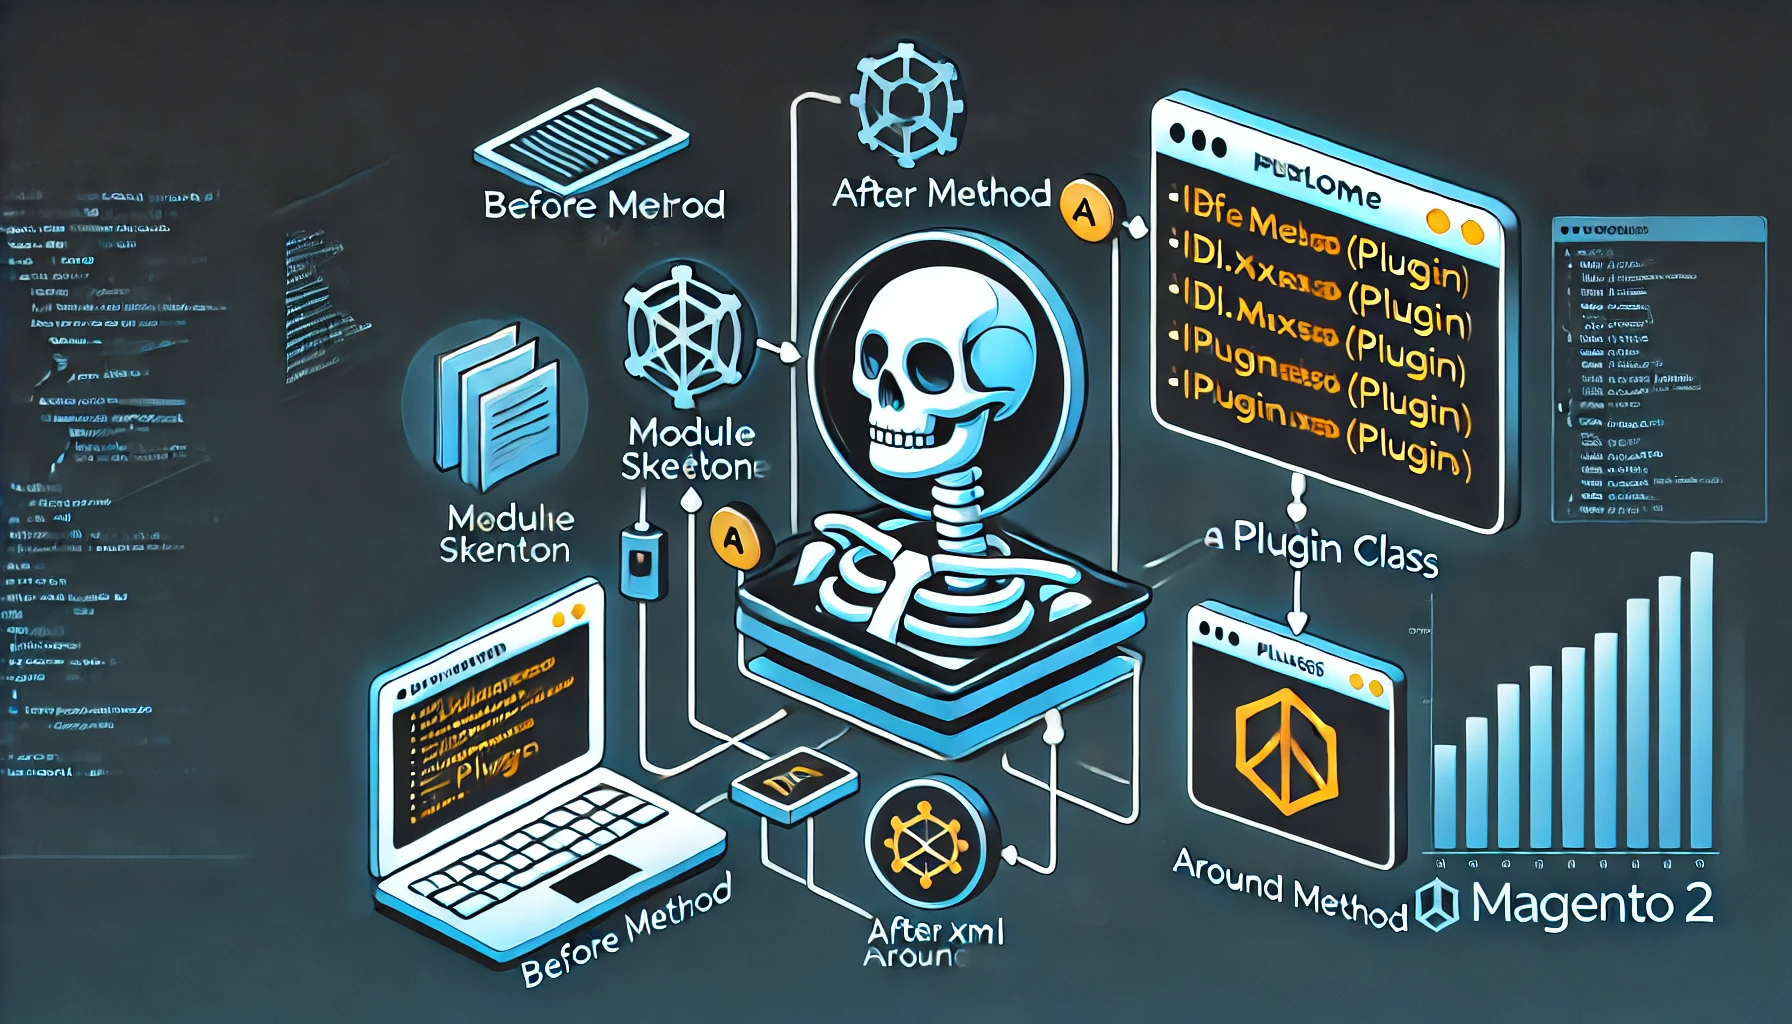
Types of Plugin Methods
- Antes de Method (Prefix: `before`): Executes custom logic before the original method. Puede modify method arguments here.
- Después de Method (Prefix: `after`): Executes custom logic after the original method. Puede modify the return value here.
- Around Method (Prefix: `around`): Wraps the original method, giving complete control over its execution, including whether or not it runs.
Use Cases for Plugins in Magento 2
- Modify Product Prices: Add custom rules to adjust product pricing before displaying it.
- Log Customer Actions: Record customer activity, como login or pago.
- Integrate with APIs: Add additional data to API requests or responses.
- Override Core Behavior: Modify specific parts of Magento’s core functionality without rewriting files.
Steps to Implement a Plugin in Magento 2
1. Create the Module Skeleton
Si usted don’t already have a custom module, create one. For example:
app/code/Vendor/Module/Create lo siguiente directory structure:
app/code/Vendor/Module/
├── etc/
│   ├── di.xml
├── Plugin/
└── registration.php
2. Register the Module
Create the registration.php file:
<?php

use Magento\Framework\Component\ComponentRegistrar;

ComponentRegistrar::register(
    ComponentRegistrar::MODULE,
    'Vendor_Module',
    __DIR__
);
3. Define the Plugin in di.xml
In the etc/di.xml file, define your plugin:
<config xmlns:xsi="http://www.w3.org/2001/XMLSchema-instance" xsi:noNamespaceSchemaLocation="urn:magento:framework:ObjectManager/etc/config.xsd">
    <type name="Magento\Catalog\Model\Product">
        <plugin name="custom_price_plugin" type="Vendor\Module\Plugin\ProductPlugin" />
    </type>
</config>
4. Create the Plugin Class
Create the ProductPlugin.php file in the Plugin directory:
<?php

namespace Vendor\Module\Plugin;

class ProductPlugin
{
    public function beforeGetPrice(\Magento\Catalog\Model\Product $subject)
    {
        error_log("Antes de getPrice: Product ID - " . $subject->getId());
    }

    public function afterGetPrice(\Magento\Catalog\Model\Product $subject, $result)
    {
        return $result + 10;
    }

    public function aroundGetPrice(\Magento\Catalog\Model\Product $subject, callable $proceed)
    {
        error_log("Around getPrice: Antes de proceeding");
        $originalPrice = $proceed();
        return $originalPrice * 1.2;
    }
}
5. Enable and Test the Plugin
Enable the module:
php bin/magento module:enable Vendor_Module
php bin/magento setup:actualización
php bin/magento cache:flush
Mejores prácticas for Implementing Plugins
- Use Plugins Sparingly: Avoid overuse to maintain code clarity.
- Choose the Right Plugin Type: Select
before,after, oraroundplugins basado en your needs. - Avoid Conflicts: Ensure multiple plugins targeting the same method do not conflict.
- Log and Test Extensively: Verify plugin behavior in all scenarios.
- Respect Inyección de dependencias (DI): Use DI for better maintainability.